Studio Mapper Quick Start

This collection of help topics aims to guide you through the key features of Studio Mapper. It's a useful starting point for new users and may also be a helpful memory-jogger for more experienced users. It's written mainly for face mappers, but much of the information contained is also relevant to level mapping.
This guide substitutes clarity for word count; explicit instructions on how to use a particular feature are found within context-sensitive and other topics. Each topic covers key aspects of a typical workflow that can be adapted for other manners of working. In essence, brief instructions are provided with links to more detailed information.
Tip: If you are using a portable device, automatically display a screen keyboard for easier data entry at the face. Enable screen keyboard mode using the Setup ribbon's On-Screen Keyboard command.
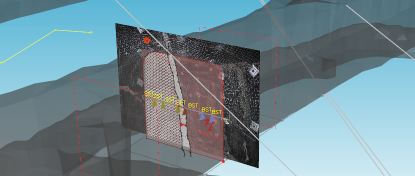
In this guide, the working scenario involves a field geologist preparing their system for time at an underground face. In this case, reference data is available and two single-face georeferenced maps have already been captured. In this guide, a third map is produced as a partial heading (front, left and right wall).
If you need more help with a particular stage, and you can load a complete project to compare.
Guide Format
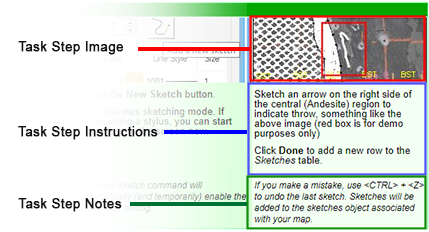
Each topic contains a collection of simple procedures outline a core task, generally no more than four steps. Below each task image and description, more detailed instructions are provided that relate specifically to the Studio Mapper Tutorial Data collection, like this:

Links to external topics will be provided. Use your Help systems Back button to return to the guide when you're ready, or use the Table of Contents.
System Configuration

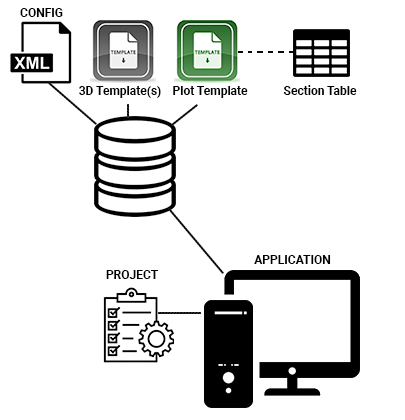
Studio Mapper relies on configuration files. These files control your application, including:
- how your map data appears once it is added
- how your field reports appear
- the values that appear in custom property lists
- if evaluated map properties are used
- which attributes you can apply to map data
- a map naming convention
- what type of map (face or level) is associated with which report template
- what level mapping drape options are available
- what feature 'objects' can access to store feature data
- channel sampling parameters
-
many other configuration parameters. There's a full online guide here:
Configuration files and templates are usually set up as part of initial implementation. These topics aren't covered in this guide. More information can be found in your Studio Mapper help file and Datamine’s Support Website.
See System Configuration File.
If you’re starting out with Studio Mapper and configuration hasn’t been done yet, you find a link to a pre-configured demonstration database in the "Demonstration System Setup" topic. This database contains everything you need to create your first project, digital map and report.


